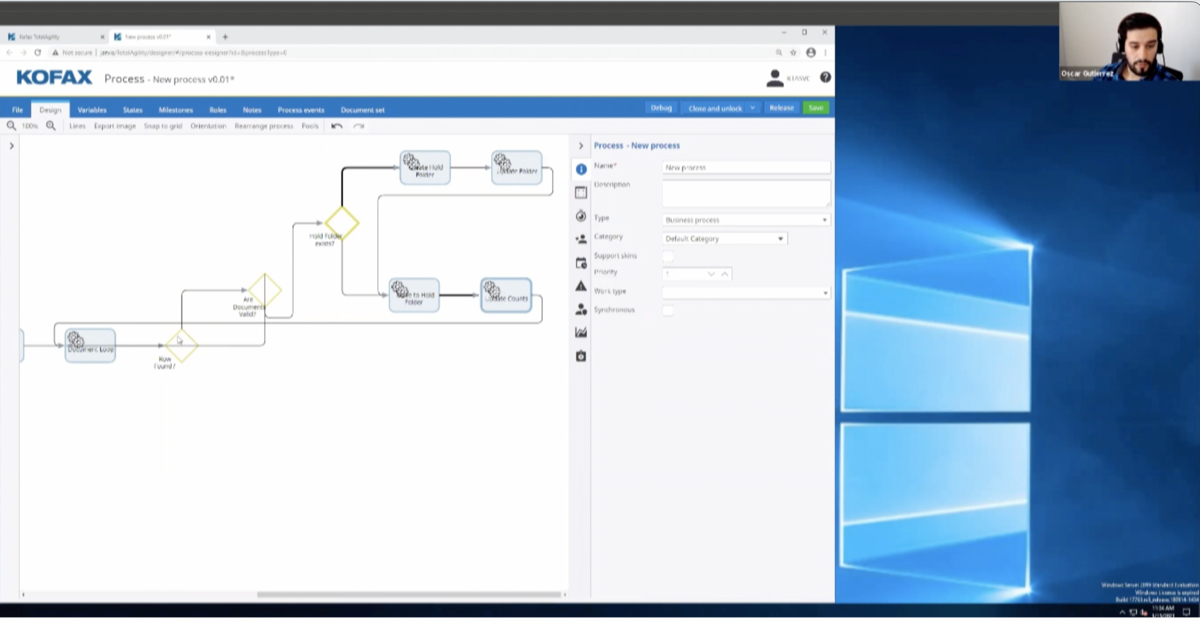
Today I will be creating a basic document view in Perceptive Content as well as the minimum security necessary for users to search on the view. For this demonstration I will be using Perceptive Content version 7.1. If you’re creating a view in 6.7 or an earlier version it is basically the same with the exception of the drop down box for the departments.
Views allow administrators to setup searches around specific criteria. Administrators can set security on views to allow access to certain users and groups. To start creating a new view on the Perceptive Content tool a bar we will click manage, and this will bring up the Perceptive Content in management console. Under select department, depending on your implementation, you may have multiple departments, but we’re going to use the default one. If you’re on 6.7 or 6.6 you will not see this drop down, you will just see the options in the left pane.
We’ll click views. In the main window we have three tabs, document, folder, and system defaults. Document allows you setup searches around documents, just a basic document search. Folder allows you to setup searches based on folder. If you’re an earlier version they were called projects. System defaults just allow you to setup the default view when users log in. Typically we will leave this set to none and allow users to set their own defaults individually.
Back to the document tab. We’ll create a new view by clicking the new button. We’ll give this new view a name. I’ll just call this Jones View. Click okay. You can either double click or highlight and click modify to open the view designer.
In the view designer under the view tab you have a green plus sign. We’ll click this plus sign to go ahead and add our first condition. In the add condition dial up box we have a number of options. Constrained by allows you to setup searches based on your custom properties, dates, and date ranges, documents keys, document properties, statuses, as well as users. For this demonstration we will use a document key. Type lets you just do normal learn mode based or variable based, which if you look will allow you to do specific values depending on what you choose. Again, for this we’re going to go ahead and use normal.
For field we can choose any of our index values. We’re going to go ahead and use drawer. Operator we will use as equal to but you’ll see you have many options under operator, and then value we will go ahead and use our test drawer that we’ve created. We have our condition in here. At this point we can either add additional conditions, if we choose, or just leave the drawer condition and customize this view.
To customize down under the preview pane we have all of our column headings. By default they’re just going to have the typical field one, field two, field three values. We can rename these by using the columns button. Under the columns button, in the dialogue box you have the option of removing and adding columns. Let’s just say we don’t want this name field here. We can come to our columns and remove this by unchecking the name field. Click okay. We’ll see that that name has been removed. If we want to rename values, you come down here under label and rename them.
The initial index values are the only values that you can rename for column headings. Let’s just say we want field one to be last name. You can highlight that, change the label to last name, click okay, and you will see that field one is now showing his last name. This is what users see. Additionally, we can reorder these columns. Let’s say we want last name to be the first column that they see in the grid. We can move this over and then this column will always show first when users click that particular view.
Go ahead and save this. We will select the properties icon. Under the view properties we have three options as well. We have general, which gives us the name, type of view, then it allows us to put in a description if we choose. Also shows maximum results. Typically we want to leave the maximum results at 500, otherwise going too high of a return can impact performance of the overall system. If you feel the need to raise this value, just do it in 500 chunks in test before going any higher.
We’ll go ahead and activate this view. This just makes it active in the system so that users can see it. They automatically run this view, allows users to just click the view and automatically return documents. If we uncheck this, users would have to actually physically hit the go button in the grid to return documents. I will show you an example of this when we get to that point.
We’ll go ahead and move to the next tab, search. We rarely ever change these settings. This is just, again, default values for the search. At the top of the grid you’ll always have either a quick search or a search. These are just the default values that will show. We typically leave these alone and users can change these as needed in the actual view.
Under security we can add users and groups. We’ll just click the add button, find our user. In this case we’ll just go ahead and use processor one. We’ll click add and we’ll see the processor one move down to the selected users. We’ll click okay. Under the privileges box we will select access, access by URL, and filter. Access just gives the users access to the view. Access by URL allows them to use the view via web now. Filter allows users to save searches on this view. This feature will be discussed in a separate video later on. We’ll go ahead and click okay. Now we’ve got our view all setup. We’ll just go ahead and save that change and close out. We can go ahead and close out of our management console.
For the view to be present we actually do have to log out and back in, so log out. Now that we’ve logged back in the changes should be present. We can click on the documents button on the percent of content toolbar to open our explorer and we’ll see the Jones view. The icons next to the view will either be this blue circle with the arrow or a green box. This blue circle indicates that we have selected the option to automatically run this view. If I click this view it will return my documents, whereas if I chose a different view such as this new view that has a green arrow, you’ll see that it does not return any documents. I have to physically go to the go button, click the go button in order to return my documents. This just depends on user preference, whether they would like the view to automatically run or not.
At this point we have created a basic view. In another video we will discuss how to create filters on our views. I thank you for watching and please reach out at rpic.com if you have any questions. Thank you for watching.

